

Painting pumpkins using a stencil and adding a splash of glitter is another great way to decorate your pumpkin if you’re not in the mood for carving.
Because decorated pumpkins last considerably longer than carved pumpkins, about a month or so, you can keep your pumpkin for both Halloween and Thanksgiving. Or you could paint an artificial pumpkin and keep it for future use.
You can paint on your ‘naked’ pumpkin or paint the pumpkin a base color of your choosing. You can select any type of stencil that appeals to you and use one color or multiple colors of paint. Glitter adds some extra sparkle but you could also leave the paint color matte if you choose.
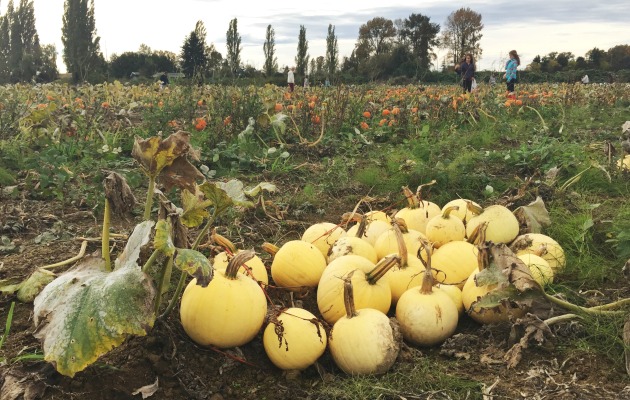
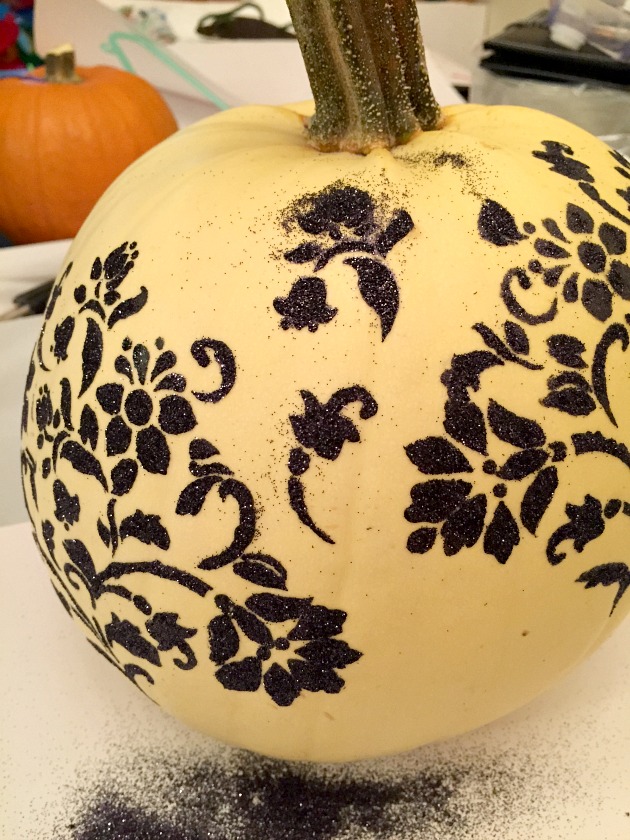
When I took the family to the pumpkin patch to select our pumpkins, I was intrigued by the yellow pumpkins I kept seeing interspersed with the traditional orange pumpkins. I just had to have one and I knew that it would lend itself very well to this kind of decorative art.
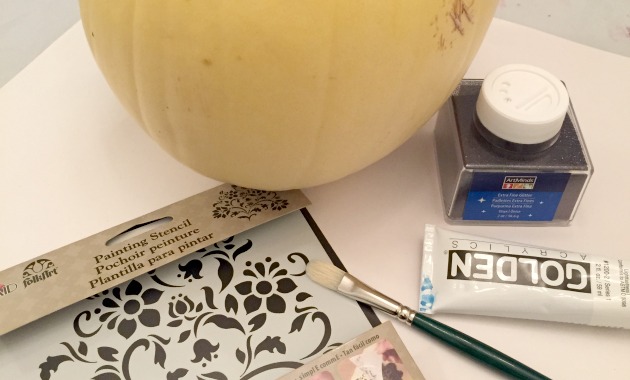
Materials for Painted Glitter Pumpkins
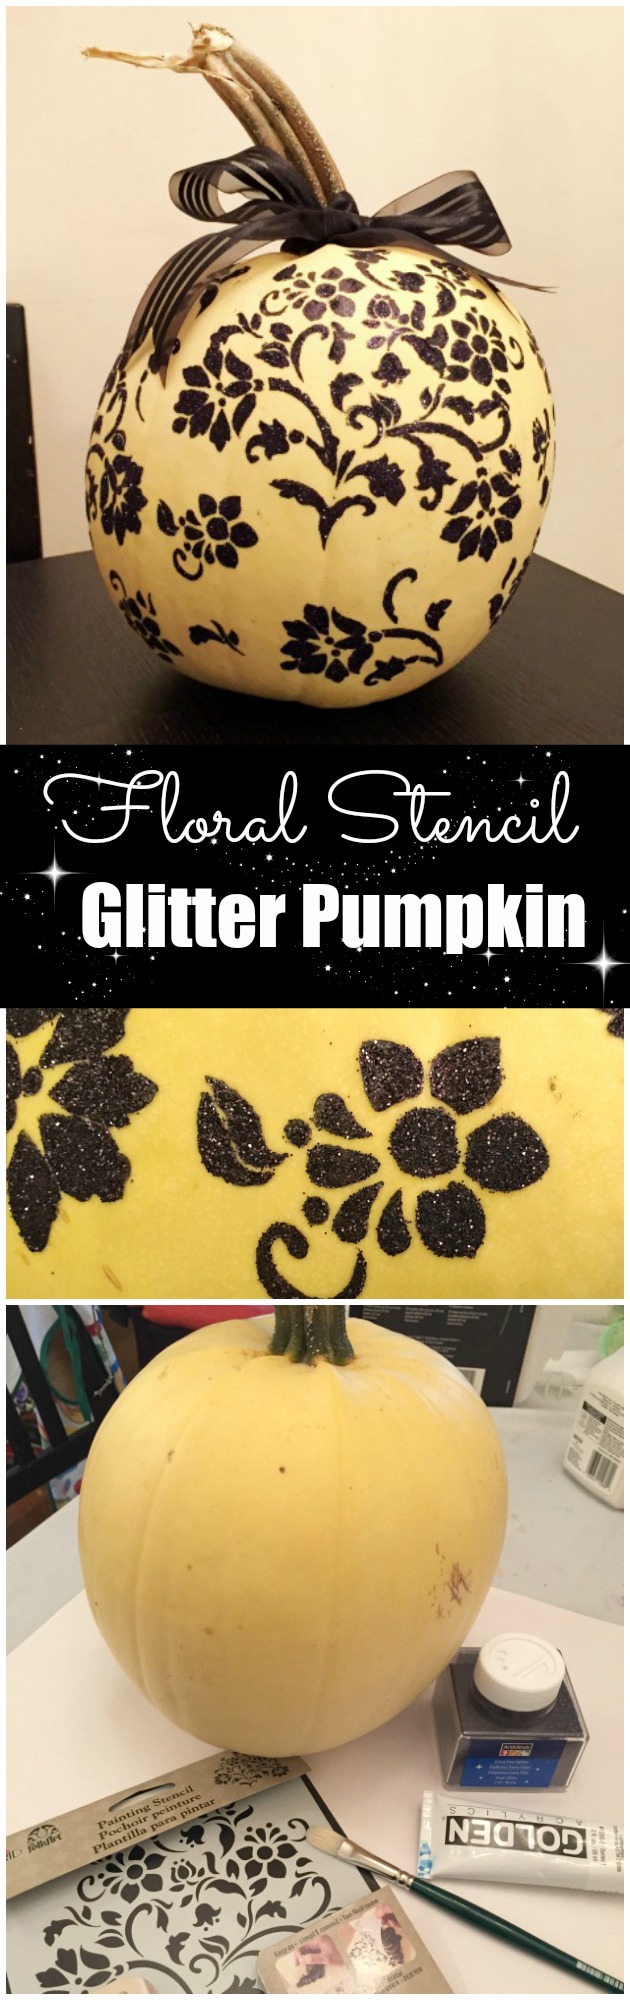
- Pumpkin, real or artificial.
- Stencil. I’m using this floral stencil from Folk Art.
- Foam paint brush*
- Bristle paint brush
- Acrylic paint
- Glitter (Fine or Extra Fine)**
- Tape
- Paper towels
- Paper for underneath to catch the glitter.
- Ribbon
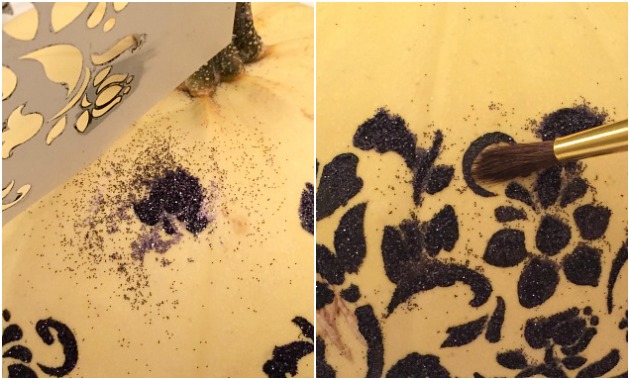
*Note: In the photo below I have pictured a bristle brush. After completing the first section of my stencil I quickly switched to a foam brush for greater precision. Using a bristle brush with a stencil will result in blurry lines since the bristles can poke under the stencil.
**You can use either fine or extra fine glitter. I used extra fine because that happened to be on sale. However I will mention that extra fine is more challenging to clean up than fine glitter because the force of static is stronger that the force of gravity with the tiny little specs.
Painting Pumpkins Using Stencils
STEP 1:
Thoroughly wash and dry your pumpkin. A clean pumpkin will help your paint adhere to the surface.
STEP 2:
Think about how your stencil design will look on your pumpkin. Will you just do one stencil in the center? Or will you paint a repeating motif? Do you just want to apply a few elements from the stencil but not the whole thing?
I decided to use the stencil three times around my pumpkin, one higher and two lower, and then fill in any gaps with the occasional flower or flourish as needed.
STEP 3:
Attach the stencil to the pumpkin with one piece of tape. You want to keep it in position but you need some flexibility for bending it around the pumpkin as you work.
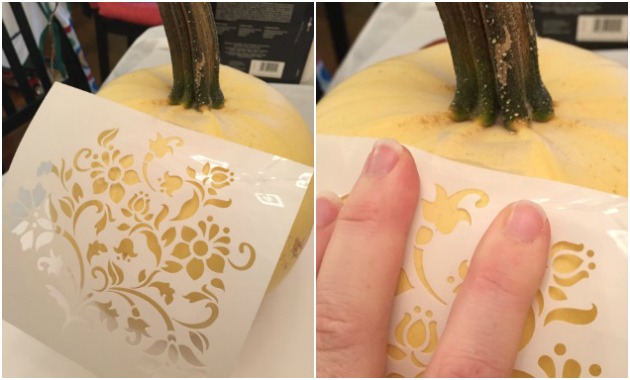
STEP 4:
Start small and work on one design element at a time. Hold the stencil down with your hand placing the section you’re working on between two fingers. Once you’ve painted that section flip up the stencil and sprinkle with glitter. Keep clear of the wet paint but use your bristle paint brush to brush the excess glitter off the clean pumpkin sections. It’s important to work on small sections at a time to the paint doesn’t dry before you apply the glitter.
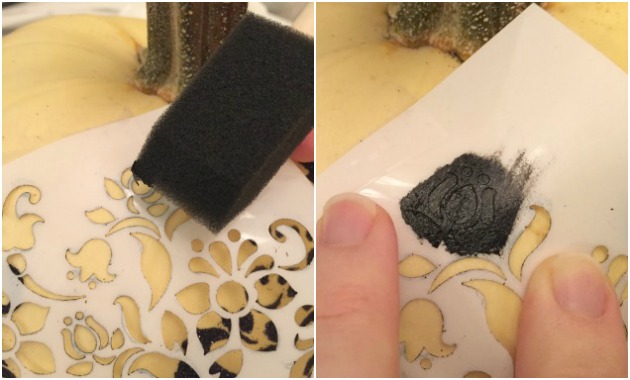
Repeat this until you’ve completed all the design elements on the stencil.
Because you’re applying a flat design onto a round object you will need to transpose some of the design. Keep your stencil attached at the top but work your way through the design moving certain elements naturally up or down slightly so that they all fit on the pumpkin.
With my very first design I was rigid and tried to work systematically from one side to the other. This resulted in some design elements being too close or overlapping slightly, and I think there was one or two details that couldn’t fit. With the second and third time I adopted a more fluid approach and started at the top working a little bit at a time equally in each direction so that I had room for the details to shift as needed.
One more thing to mention, when you flip up your stencil try not to get paint on the rest of your pumpkin and beware of touching your pumpkin with paint on you fingers. If you do get paint on other sections of you a pumpkin wipe it off right away with a damp cloth (or a baby wipe, one of my favorite are tools 🙂 )
STEP 5:
When you’ve completed the first design, remove the stencil and allow the paint to dry completely.
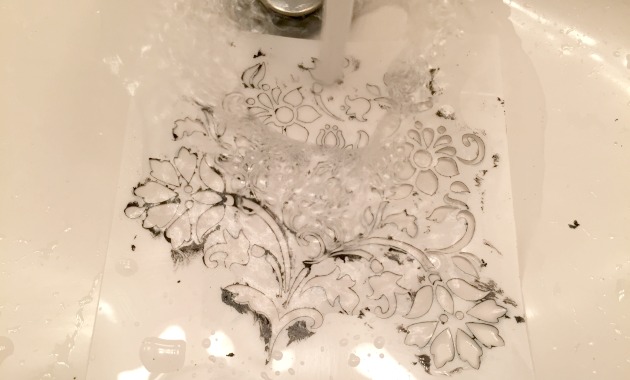
While he paint is drying you can remove the tape from your stencil and wash it. I just place it in the sink with the water running and in very gentle circular motions wash it with a sponge. You want to be very careful that you don’t damage any of the delicate details.
Washing your stencil will help make it last longer and will ensure the details remain crisp.
STEP 6:
When the paint has completely dried take a bristle brush and brush any glitter off your pumpkin. You can now pick up the paper under your pumpkin and funnel the glitter back into the container.
STEP 7:
Once again attach your stencil to your pumpkin. You may want to attach a piece of paper towel next to it so that when you flip up your stencil you don’t wreck your earlier design.
Work through your stencil as before working on tiny sections at a time and applying glitter.
Repeat steps 5, 6 and 7 however many times you choose.
STEP 8:
If there are any gaps you want to fill in then select elements the stencil and individually paint (and glitter) them in.
STEP 9:
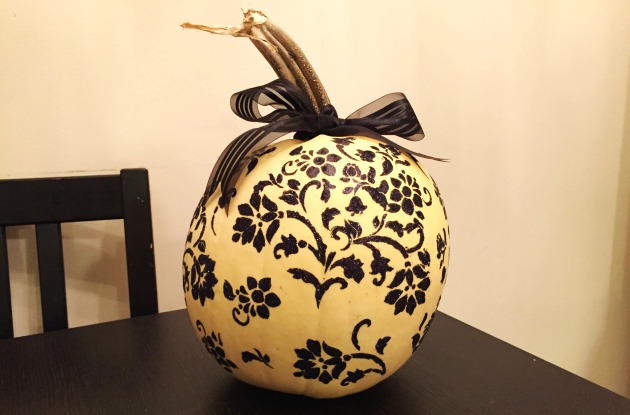
After all the paint and glittering is complete, cut a length of ribbon for your bow. My ribbon was pretty thick so I folded it in half to tie around the stem and them puffed it out to its full width for the bow.
STEP 10:
Congratulations! You’re ready to display your artwork.
Happy Halloween!
No comments yet.